About Kristan Franco

Kristan Jan Q. Franco is rooted from General Santos City, and is a 20-year old student of Notre Dame of Dadiangas University. With the course Information Technology, he is into web designing, graphic designs, ads, and photography. Having been introduced into digital tools such as Adobe Photoshop and CSS coding, he began designing variety of graphics in his high school days. When he stepped into college, his interests expanded. With a cheap digicam and a Single Lens Reflex camera, he was engaged into photography and sees it as a hobby. Read more about KFranco »
Showing posts with label Photography. Show all posts

Beautiful iPhotos of Philippine Colors from North to South

Posted by Kristan Tuesday, February 23, 2010 View Comments

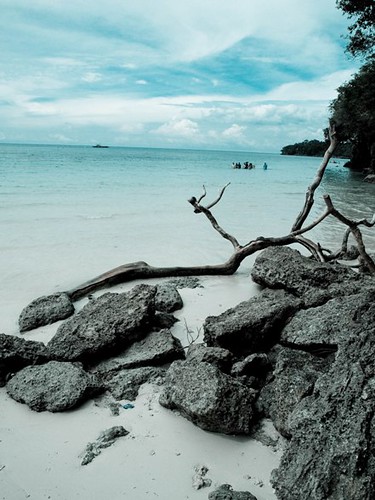
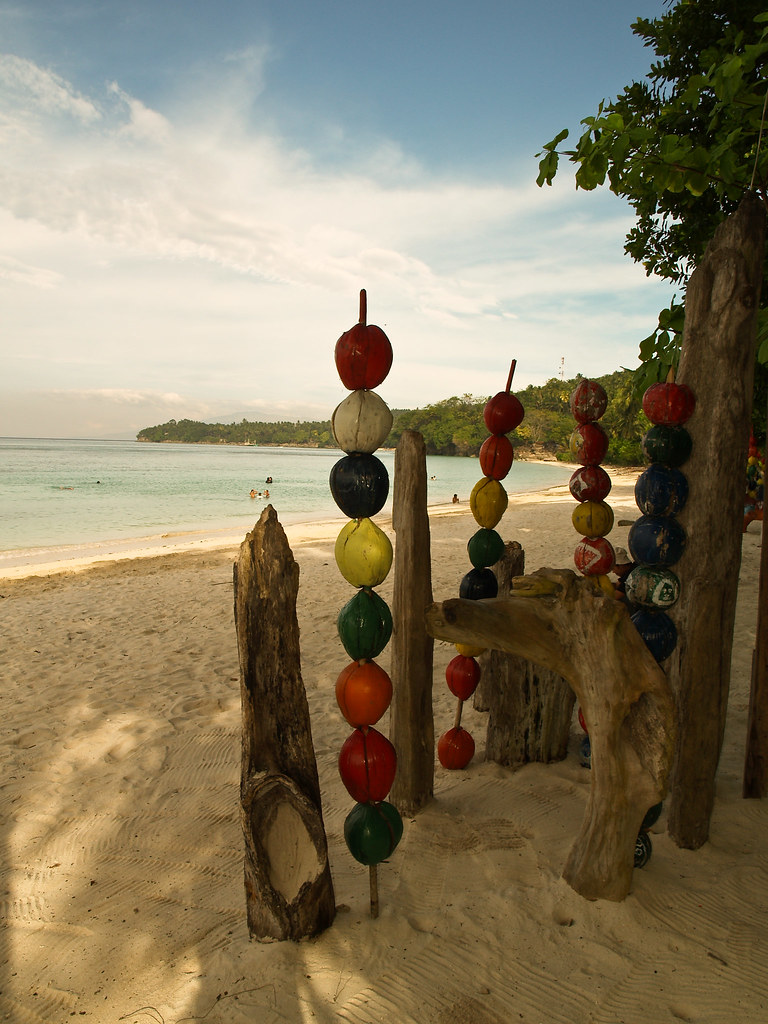
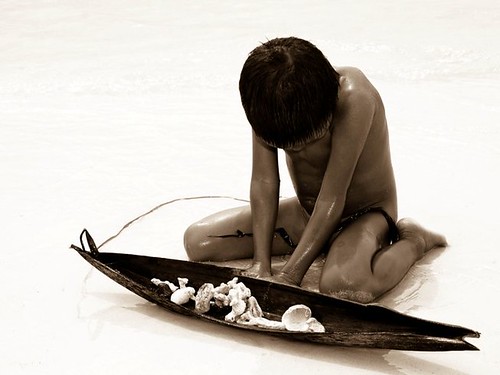
Recently, I came across Philstar's article about the beautiful and catchy iPhotos of Philippines' North to South vibrant colors. The shooters, equipped with a a photographer's arsenal, showcased the very unique sunrise, sunset, flavorful foods, and eye-catching beaches in the country.

"Makulay" is a tagalog term for "colorful". As what the article emphasized, the word "Makulay" has been the very appropriate word that could sum up all these beautiful iPhotos.


kristanfranco.blogspot.com title=


kristanfranco.blogspot.com title=


kristanfranco.blogspot.com title=


kristanfranco.blogspot.com title=


kristanfranco.blogspot.com title=


kristanfranco.blogspot.com title=


kristanfranco.blogspot.com title=


kristanfranco.blogspot.com title=


kristanfranco.blogspot.com title=


kristanfranco.blogspot.com title=


kristanfranco.blogspot.com title=


kristanfranco.blogspot.com title=


kristanfranco.blogspot.com title=


Done reading? If you liked my posts, then:

Click here to Subscribe to FREE email updates from "Kristan Franco", you wouldn't want to miss out anything that can be valuable to you and your blog, would you?

The World in Fish-eye

Posted by Kristan Wednesday, February 17, 2010 View Comments

One of the many interests I have in Photography is distortion. Distortion is art, and it gives a more dramatic effect to a simple and dull photo. Wide-angle and fish-eye lenses are the main reason why distortion exists in photography.Equipped with a basic DSLR and a good fish-eye filter lens, I was able to apply distortion to my shots.

This is a very simple definition of Fish-eye in Photography:

Of or being a wide-angle photographic lens that covers an angle of about 180°, producing a circular image with exaggerated foreshortening in the center and increasing distortion toward the periphery.
I've got so many fish-eye shots, and I think one blog post won't contain all photos, so I just select some clear shots.

1.) Our Lady of Peace and Good Voyage. A shot during our parade. I zoomed the lens that's why the distortion is just low.


kristanfranco.blogspot.com


2.) RD Plaza, Gensan. Another shot from our parade. Since I zoomed-in the lens, the distortion lessened. One thing, the sky was overexposed.


3.) Sunny Highway. A shot from last month. I was riding a public-utility vehicle when the highway became an interesting scenery to shoot.


kristanfranco.blogspot.com


4.) Hope Springs. A shot taken from the place of a firework incident. The tree was half-burnt. You could see less distortion here because of zooming in, see the clouds.

kristanfranco.blogspot.com


Shooting in fish-eye is quite exciting. You get to see distorted sceneries. So, go, give it a try!

Done reading? If you liked my posts, then:

Click here to Subscribe to FREE email updates from "Kristan Franco", you wouldn't want to miss out anything that can be valuable to you and your blog, would you?

15 Brilliant Tilt Shift Photos

Posted by Kristan Sunday, January 10, 2010 View Comments

Tilt-shift shooting is one of the most interesting photography techniques wherein a life-size photograph is manipulated to give an optical illusion of a miniature scale.

Real Tilt-shift photography is all about changing the angle of the camera to give a different perspective and to make something look bigger or smaller.
There are camera lenses that specialize in tilt-shifting. If you haven't got a tilt-shift lens, one way to turn a photo into a tilt-shift shot is the use of Photoshop.

I viewed photos from Flickr and these are the 15 brilliant tilt-shift photos I choose:

1.) Toy Kuala Lumpur - Timmy Toucan

kristanfranco.blogspot.com


2.) Nice, France - Jason Ruff

kristanfranco.blogspot.com


3.) Joe's Crab Shack, Nashville - Shawn Ide

kristanfranco.blogspot.com


4.) Toy Bridge - darktiger

kristanfranco.blogspot.com


5.) Oasis Miniature - roevin

kristanfranco.blogspot.com


6.) Seattle Waterfront - sonek321

kristanfranco.blogspot.com


7.) Tilt-shift Tram - teppistella

kristanfranco.blogspot.com


8.) King's Island Tilt-Shift - jsrcyclist

kristanfranco.blogspot.com


9.) Canoe - Jeff Rogerson

kristanfranco.blogspot.com


10.) Market Street - Reven.

kristanfranco.blogspot.com


11.) Airport - pattagon

kristanfranco.blogspot.com


12.) Shangri-la Mall - Daniel Y. Go

kristanfranco.blogspot.com


13.) First Tilt-shift shot - Daniel Ashton

kristanfranco.blogspot.com


14.) Yosemite Valley - Ryan jay

kristanfranco.blogspot.com


15.) Shoshone Falls - Wookieslayer

kristanfranco.blogspot.com


After viewing these brilliant tilt-shift photos, I wanted to try! Taking photos and processing it in Photoshop afterwards must be fun. I'll be posting a tutorial on how to fake tilt-shift photographs. So be sure to keep track on this blog.


Done reading? If you liked my posts, then:

Click here to Subscribe to FREE email updates from "Kristan Franco", you wouldn't want to miss out anything that can be valuable to you and your blog, would you?

Fun with Light Painting

Posted by Kristan Friday, January 8, 2010 View Comments

Aside from a week full of school stuff, I also experienced frequent brownouts. Since brownouts are boring, perhaps, the very best thing to do during "electricity-less" nights is to play with a camera! A very fun way to do this is to paint using light!

kristanfranco.blogspot.com


Light painting is a fun digital photography technique which gives you great results. Since this technique is freestyle you don't need to experiment much of it. You'll just need to learn shutter speed, and aperture, and be sure to have this following items:

1.) a camera capable of long exposures. DSLRs are the appropriate example.
2.) Tripod. Since we use slower shutter speed, probably 15 to 30 seconds, we should make sure that the camera will stay still, or else, your output will be a crap. If you don't have one, create your homemade tripod!
3.) Source of light. Flashlight is the best example. You need this to paint with light.
4.) Dark location. In my trial photos, I used the living room as the location because there is no moving object with light that could ruin my output.

How I started it:

I set a slower shutter speed, ranging from 15 to 20 seconds. I set the aperture to f14, with 300 ISO.

The output:

Within 20 seconds, I drew a stickman sitting, and if your perception is the same with mine, then good, but if it was not like mine, then the output must be crap.

kristanfranco.blogspot.com

...and this? It seems like an after-effect of 2012 movie. The walls are cracking, and the lava will spill!

kristanfranco.blogspot.com

Lastly, the most freestyle output, STICKMEN! If you perceived these as stickmen, then highfive!
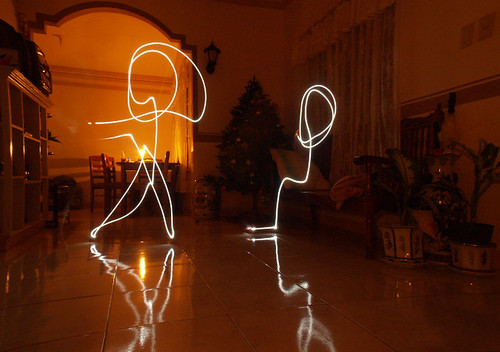
kristanfranco.blogspot.com

So, start painting with light now! You'll enjoy seeing those clumsy and perfect shots you got. Let your imagination work!

P.S. I'll be posting some of my latest light-painting outputs next time.

Done reading? If you liked my posts, then:

Click here to Subscribe to FREE email updates from "Kristan Franco", you wouldn't want to miss out anything that can be valuable to you and your blog, would you?

My First Panning Shot

Posted by Kristan Tuesday, January 5, 2010 View Comments

I'm definitely back at school, and life there is pretty fast. Since the midterm examinations are coming, school requirements are the worst!

Well to much for the current happening around. Last Christmas break, I'm a bit relaxed from the school pressures. One way to do this is to do outdoor photography. Since I am a bit much more of a beginner, I tried other techniques that I wasn't able to do before. My latest tryout shot is all about panning, and this photo is my very first panning shot.

Panning, in Photography term, is a shooting technique where a shooter is focused on a moving subject, keeping it into the same position while moving until the duration of the exposure. The use of longer exposure and slower shutter speed blurs the background while keeping the subject focused, thus giving the photo a more dramatic effect.

In this photo, I didn't use a tripod so pardon me for a quite poor output. With a 42mm focal lenght, I set the shutter speed to 1/20 and f5.6 for the aperture. So, this is my first panning shot. Practice makes perfect!

kristanfranco

What do you think? Comment below.

Done reading? If you liked my posts, then:

Click here to Subscribe to FREE email updates from "Kristan Franco", you wouldn't want to miss out anything that can be valuable to you and your blog, would you?

How I Started 2010: My First Panoramic Shots

Posted by Kristan Friday, January 1, 2010 View Comments

It's a whole new year, and we can barely notice the changing time. 2009 was so fast. I remember last year, January 1, 2009, the starting post on my previous blog was The Shots I took in Lake Sebu. To formally start this year, of course with a blog post, I just wanna share to you my firsts! My very first two panoramic shots. A processing skill which I newly acquired.

Just this day, we visited grandma's house in order to celebrate the first day of a new year, and to visit grandpa who passed away 8 years ago.

Arriving at the Cannery, I took 3 different shots of the perpendicular street with in a same horizontal set up. Using Lightroom 2.0, and Photoshop CS4, this was the output of my photo stitching process:

kristanfranco.blogspot.com

The second one was taken in Mt. Matutum Memorial Park. The final output is a bit tilted, so pardon me for that. With the same set up, 3 photos, and the use of Lightroom 2.0 and PS CS4, I came up with this:

kristanfranco.blogspot.com

If I got spare time, I'll eventually share to you my succeeding Panoramic shots, and let's see if there are some improvements, or are they still the same with these shots above?

Done reading? If you liked my posts, then:

Click here to Subscribe to FREE email updates from "Kristan Franco", you wouldn't want to miss out anything that can be valuable to you and your blog, would you?

Visiting Gumasa, Glan

Posted by Kristan Monday, December 21, 2009 View Comments

I spent a day and moment of my Christmas break just to relax from school stuffs. Since most of us decided to visit Gumasa, I joined in. Gumasa just fits the word wonderful.

Gumasa is a barangay in Glan, Saranggani province widely known for it's belt of white sand beaches. For people who prefer peaceful ambience, then the 3-kilometer stretch of white sand in Gumasa suits you best.

HOW TO GET THERE:

Our starting point is from Gensan, and negotiated the driver's price to lead us directly into Gumasa.

For people who want certain stops, look for a public van which is mainly heading for Glan terminal. Vans are found beside Gensan's bus terminal, Bulaong. Arriving in Glan's terminal, approximately 40 minutes, go see jeepneys heading for Gumasa, or ride motorcycles, widely known as habal-habal in native dialect.

BEST THINGS TO DO IN GUMASA BEACH:

1.) Play beach volleyball. Trust me, it's really fun diving in the sand just to save the ball.
2.) For overnight stays, consider a bonfire party! It is really good to sizzle up a cold night in Gumasa trough bonfire.
3.) Play Frisbee. Since the place is silent, few people visit the place unlike the other famous beaches, you'd definitely indulge into playing physical activities in Gumasa.
4.) Stroll around the white sand stretch. Walking along the seashore with friends is a good way of relaxation.
5.) Take photographs. This is the best way to preserve your memories with Gumasa. Click the shutter!
6.) Visit the small caves. Along the stretch of the beach, small caves meet you at the edge. It willbe fun dipping into their dark shades. Just be cautious.
7.) Meet people. It is really a fun thing to do when you talk to a person residing in that place. Talk with them.
8.) Somersault and dive into the waters. It would be a fun thing to do. Splash into the waters of Gumasa and find yourself staring at the blue sky.
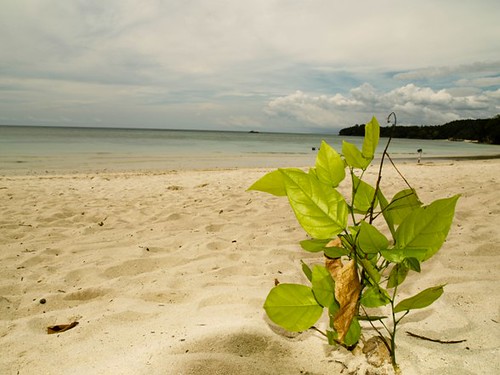
I'll visit Gumasa again! Hopefully!

Click the photo to enlarge. Hover cursor to display captions.

Experience Gumasa: kristanfranco.blogspot.comExperience Gumasa: kristanfranco.blogspot.comExperience Gumasa: kristanfranco.blogspot.comExperience Gumasa: kristanfranco.blogspot.com

Experience Gumasa: kristanfranco.blogspot.comExperience Gumasa: kristanfranco.blogspot.comExperience Gumasa: kristanfranco.blogspot.comExperience Gumasa: kristanfranco.blogspot.com
Experience Gumasa: kristanfranco.blogspot.comExperience Gumasa: kristanfranco.blogspot.comExperience Gumasa: kristanfranco.blogspot.com


Be sure to subscribe in this blog to recieve updates from the places I visited.

Stay Connected


Recieve FREE email updates from Kristan Franco

Enter your email address:


Bookmark and Share


Blogs You'd Like to Visit